
Installing a water pressure tank is a crucial task for homeowners relying on well water. A properly functioning tank keeps your plumbing running smoothly, providing steady water pressure while reducing the strain on your pump. Whether you’re swapping out an old tank or installing a brand-new one, it’s important to understand the process to ensure a hassle-free, long-lasting setup that will keep your system working efficiently for years to come.
In this step-by-step guide, we will walk you through everything you need to know about plumbing a water pressure tank, from the tools required to the common mistakes you should avoid.
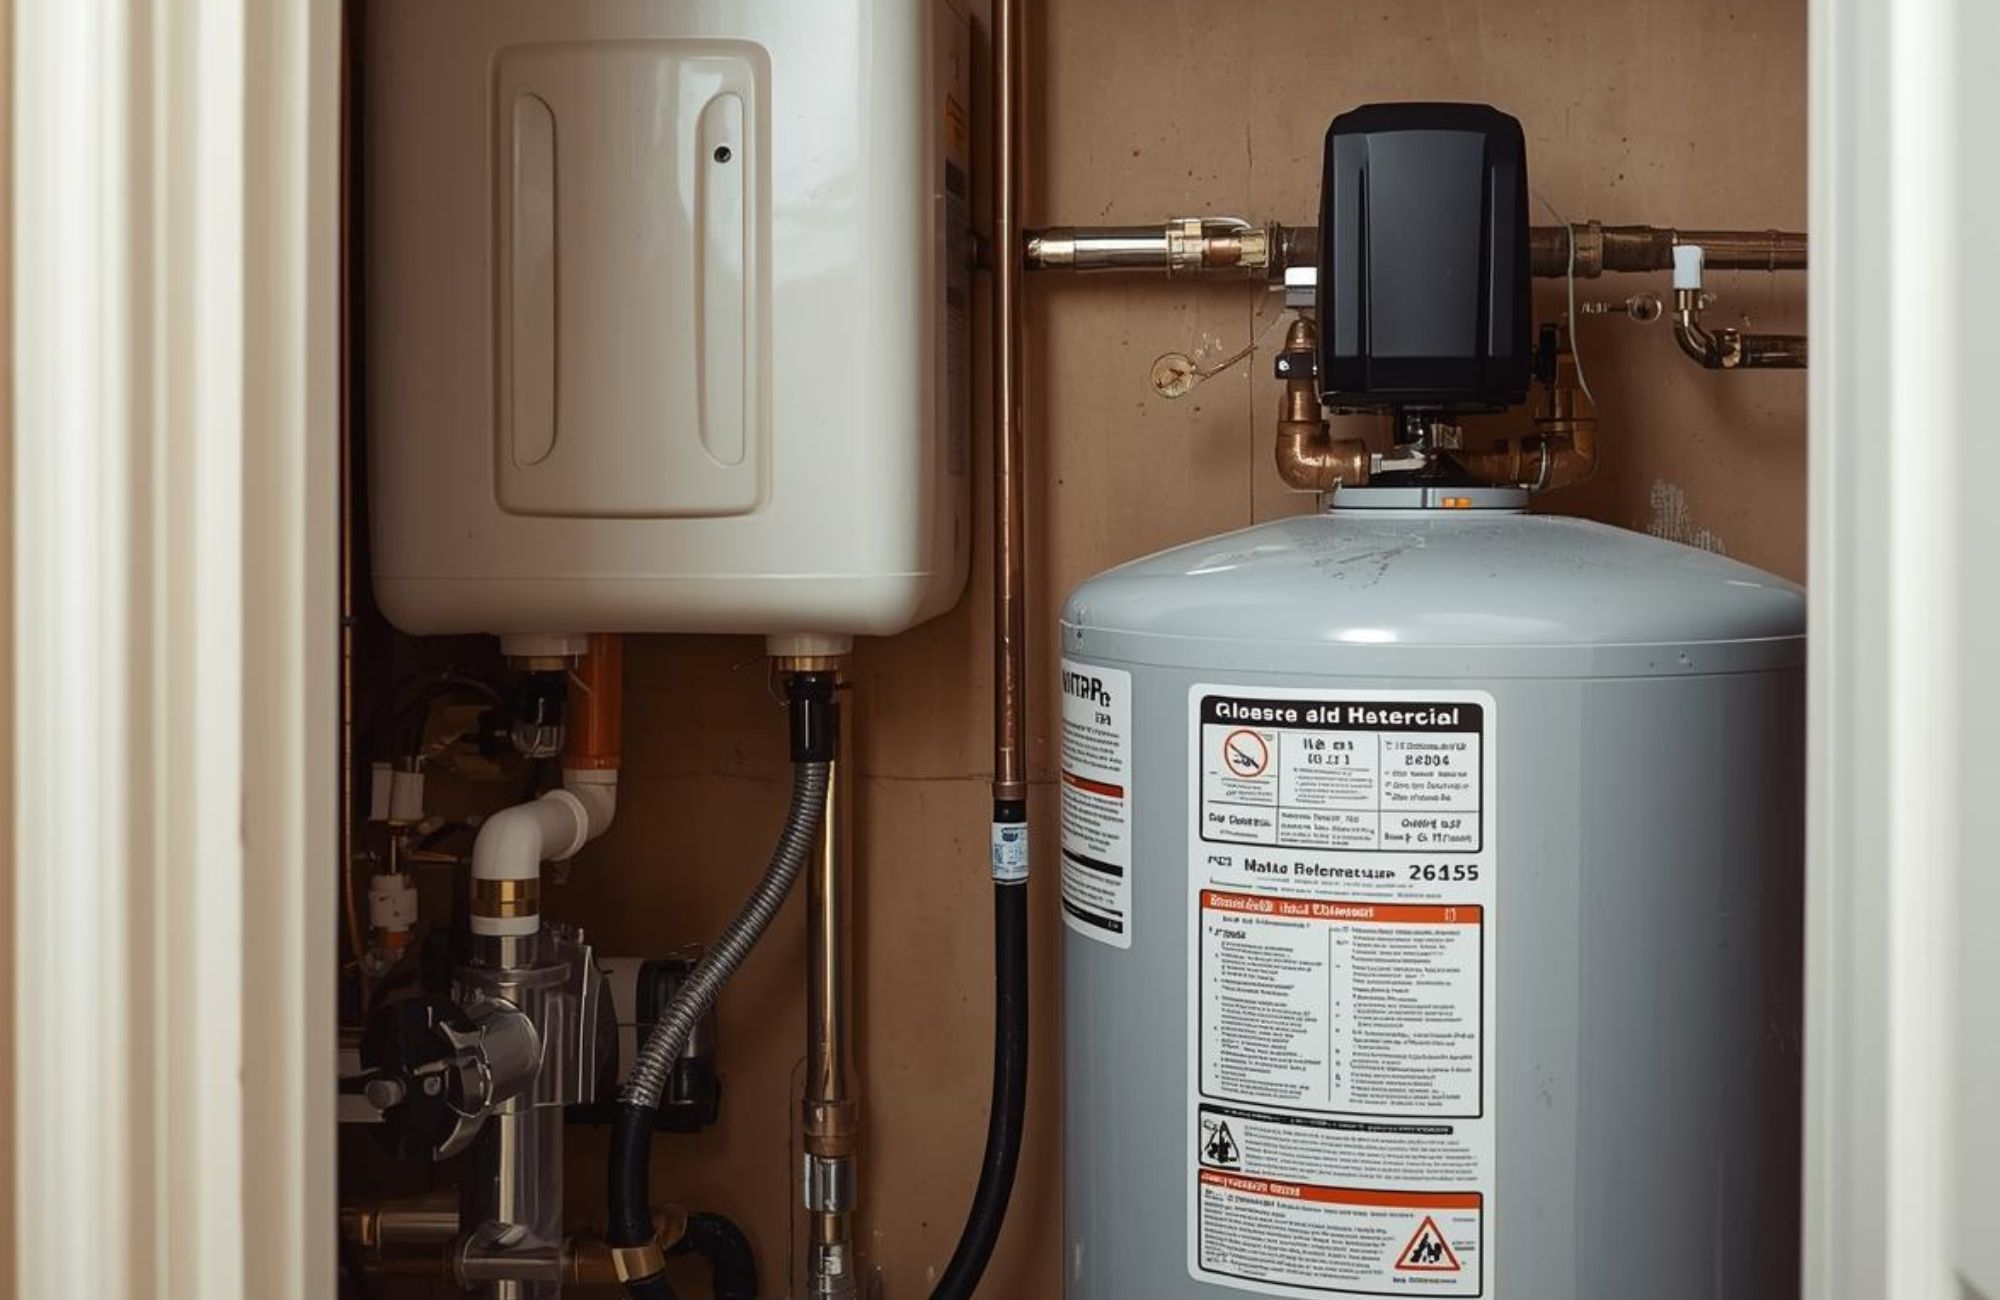
What is a Water Pressure Tank?
A water pressure tank is a vital component of any well water system. It stores water under pressure, ensuring that your plumbing system has a constant and reliable supply. When water is drawn from the well, the pressure tank delivers the stored water into the pipes, maintaining a steady flow and preventing the pump from turning on and off constantly.
Its primary function is to regulate water pressure within the system. Without a pressure tank, your well pump would need to operate continuously, which could lead to damage or failure over time.
Tools and Materials You’ll Need
Choosing the right pipe for your plumbing system is crucial to maintaining water pressure. That’s why having the right tools and materials on hand will make your installation process smoother. Here’s a list of the required tools and materials before you begin:
Tools for Plumbing a Water Pressure Tank
- Pipe wrenches and adjustable wrenches
- Screwdrivers (flathead and Phillips)
- Pliers
- PVC cutters (if using PVC pipes)
- Teflon tape for sealing connections
- Pressure gauge
- Drill (for mounting the tank and fittings)
Materials for Plumbing Water Pressure Tank:
- PVC or metal pipes (depending on your system)
- Pressure switch and pressure relief valve
- Tank fitting kits
- Air compressor (if needed to add air to the bladder tank)
- Pressure tank (appropriate size for your home’s needs)
- Pipe fittings (elbows, tees, etc.)
Having these tools and materials ready will help you avoid delays during the installation process.
Step-by-Step Guide on How to Plumb a Water Pressure Tank
Installing a water pressure tank involves a series of steps, from preparation to final testing. Follow this step-by-step guide for a smooth installation process:
1. Preparation
Before you start installing the tank, ensure that the water supply and power to the system are turned off. This will prevent any accidents during installation. Shut off the main water supply to the house and disconnect the pump from the power source. If you are replacing an old pressure tank, carefully remove it. This might require disconnecting the plumbing and draining any water left inside the old tank.
2. Position the New Tank
Find a well-ventilated area to place the new tank, close to the well pump but protected from extreme temperatures, like a basement or utility room. Also, ensure there is enough clearance for the pipes and fittings to be installed and for regular inspections.
3. Connect the Inlet and Outlet Pipes
Using PVC or metal pipes, connect the inlet and outlet of the pressure tank to the plumbing system. Attach the inlet pipe to the well pump and the outlet pipe to the house’s water supply, and make sure the connections are tight and sealed using Teflon tape or pipe joint compound to avoid leaks.
4. Install the Pressure Switch and Relief Valve
The pressure switch manages the pump’s on/off cycles while the relief valve prevents the system from exceeding safe pressure levels. Install the pressure switch near the tank, and position the relief valve on the tank’s outlet pipe to release excess pressure when needed.
5. Check the Tank’s Air Pressure
For diaphragm tanks, make sure to check and adjust the air pressure inside the tank. If you’re using an air compressor, add air to the tank if necessary. The ideal pressure is typically 2 psi below the pump’s cut-in pressure (usually around 38-40 psi). Check it with a tire gauge before proceeding.
6. Connect the Power Supply
Once all the plumbing connections are made, reconnect the power supply to the well pump. Ensure the electrical connections are secure and that the pump is receiving power properly.
7. Test the System
Once the tank and pump are connected, it’s time to test the system. Turn on the water supply and the power to the pump. Now, check for leaks around the connections and ensure the pressure gauge is reading correctly. If everything looks good, the system should operate smoothly.
If you encounter any issues or feel unsure about completing any part of the installation, it’s always a good idea to consult a professional plumber.
Common Mistakes to Avoid When Installing a Water Pressure Tank
Installing a water pressure tank can be tricky, and small mistakes can lead to bigger problems down the road. Here are some common mistakes to watch out for:
- Forgetting to Turn Off the Water and Power: Always shut off the power and water supply before beginning installation. This is a critical safety step to prevent accidents.
- Incorrect Pressure Switch Setting: If the pressure switch is set too high or too low, it can cause the system to malfunction or damage the pump. Make sure to follow the manufacturer’s recommended settings.
- Overtightening Connections: While it’s important to make sure the connections are tight, overtightening can crack fittings or cause leaks. Use the appropriate amount of torque when securing fittings.
- Installing the Tank in an Inaccessible Location: Choose a location for the tank that is easily accessible. This will ensure future maintenance and repairs are simple and hassle-free.
Conclusion
Installing a water pressure tank is an essential part of maintaining a well water system. By following the steps outlined in this guide, you can ensure that your system operates efficiently, with consistent water pressure and less strain on the pump. Remember to regularly inspect your tank and the system to prevent issues, and don’t hesitate to call a professional if you encounter complex problems. Proper installation and maintenance will not only improve your water system’s performance but also extend the lifespan of your well pump.
Prestige Water Group offers expert plumbing services for water pressure tank installations across Northern New Jersey. Whether you’re replacing an old tank or installing a new one, our licensed and insured plumbers ensure everything is set up correctly and safely. Call (973) 227-4740 or email info@pwgroupnj.com to schedule your professional installation today.
FAQs
How do I plumb a water pressure tank?
Plumbing a water pressure tank involves connecting the tank to your well pump and household plumbing system. You’ll need to install a pressure switch and pressure relief valve, check the air pressure inside the tank, and test the system for leaks and proper operation.
How do I plumb a water well pressure tank?
The installation process for a water well pressure tank is similar to installing any other water pressure tank. Connect the well pump to the tank’s inlet and the house’s plumbing to the outlet. Install the necessary valves and switches, and check the air pressure to ensure the tank functions properly.
Can I plumb in a water pressure tank myself?
While many homeowners can manage the task, if you’re dealing with electrical wiring or complicated pipe configurations, it’s wise to hire a professional plumber to avoid any costly mistakes.
How do I plumb a pressure tank with a water softener?
When plumbing a water pressure tank with a water softener, make sure the water softener is installed after the pressure tank, as it treats the water before it enters your plumbing system. Both systems will work together to ensure the water pressure is stable and the water is treated effectively.